


Part II, seen here.
Wednesday, December 30, 2009
Bathtime, Part III
In keeping with my unintended end-of-the-month tradition, an adorable "bathroom" shot :)
Tuesday, December 29, 2009
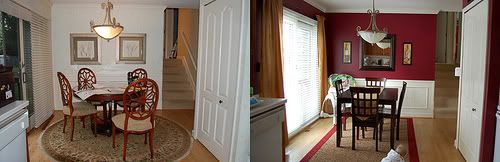
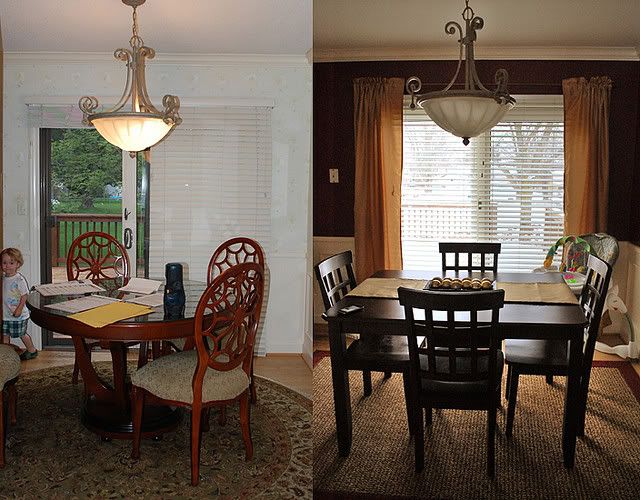
Kitchen & Dining Room: Before and After
Because you know I love side-by-side comparision pictures...
Monday, December 28, 2009
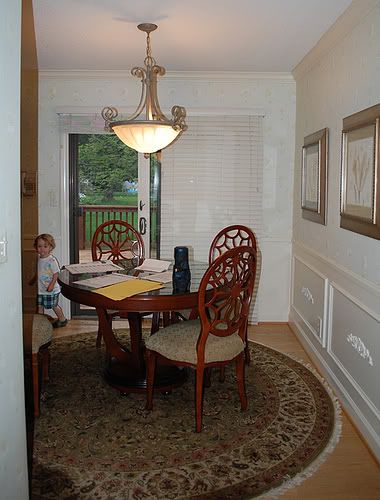
Kitchen & Dining Room: Done!
The entire inspiration for these rooms came from my & Clay's love of red wine. From the color to the accents, this space is a reflection of our interests and tastes. I love it when homes achieve this and showcase the owner's personalities.
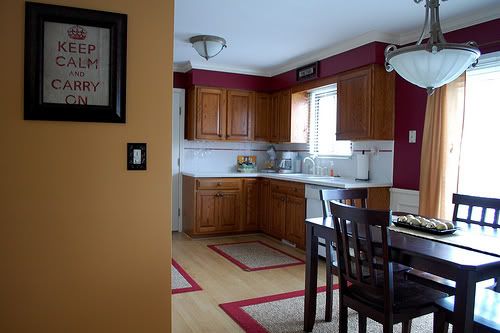
First up was removing the wallpaper and painting the walls a rich, warm burgundy (Sherwin-Williams' Fine Wine). You can see a glimpse of the short wall that separates the dining room and living room which was painted in Sherwin-Williams' Harvest Gold (this not only ties into the room's color palette, but it is the color the entire hallway leading upstairs will be painted once the last of the wallpaper is removed).

We were fortunate that not only did our home come with appliances, but the dishwasher, stove, refrigerator and microwave are each only a couple years old so they won't need to be replaced for a while.
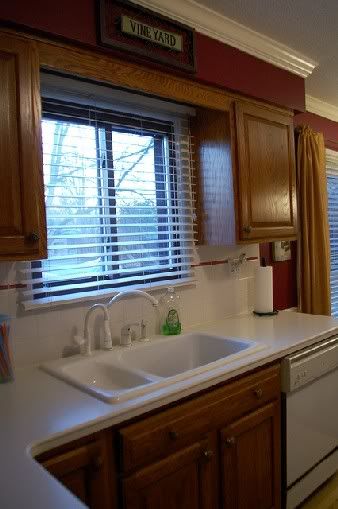
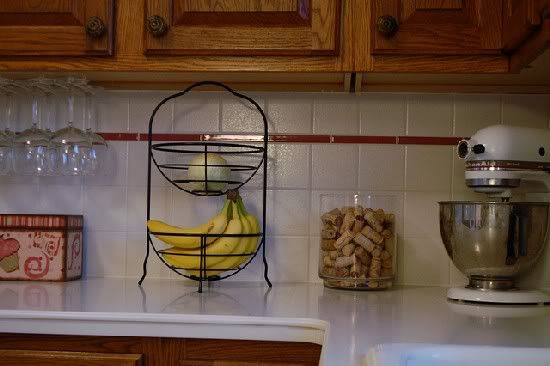
We hung a rack underneath the cabinets for our wine glasses and our wine corks are on display in a clear vase. Other wine accents include the pot holders hung beside the stove and the wrought-iron signs that say 'vineyard' and 'wine tasting', which were purchased at JCPenney's.

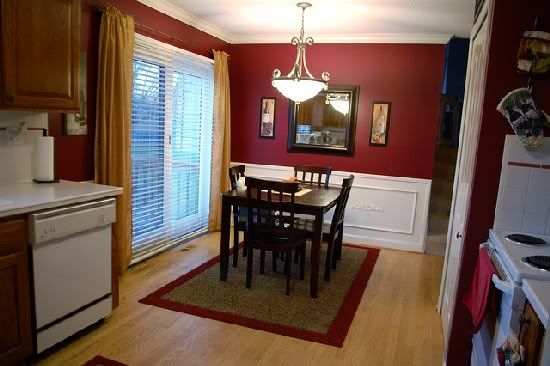
The burgundy & gold rugs were purchased from Target as was the mirror on the dining room wall. The wine pictures on either side of the mirror were gifts I received many years ago.
I liked these rooms before and I love them so much now! It's nice how just adding some paint and a couple personal touches can truly personalize your space. It's instances like this that transform a house into a home.
Saturday, December 26, 2009
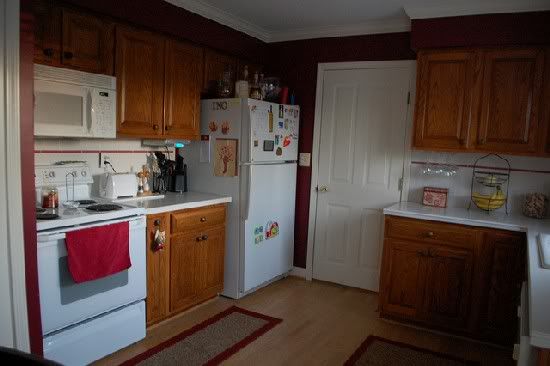
The Kitchen & Dining Room, Before
I hope everyone had a fabulous Christmas. I know my family and I most certainly did; it was our first Christmas in our home and it was very special. We hosted Christmas dinner, which lit a fire under my butt to complete the kitchen and dining room. I wanted our guests to feel welcomed and comfortable, and that's difficult to do amongst boxes and clutter.
So before I show you the finished rooms, I thought you might like to see where we started.
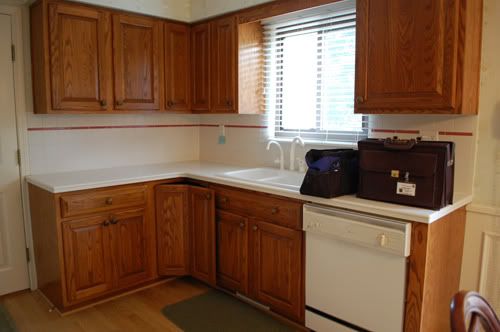
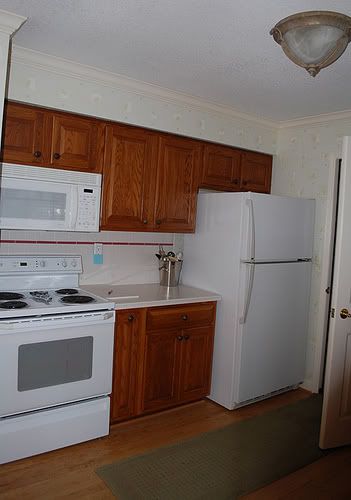
We are very fortunate that not only did the home come with appliances, but they're only a couple years old. The cabinets are a gorgeous warm honey (as is the wood floor) with detailed bronze knobs. I love that the two corner cabinets feature lazy susans and the pull-out spice rack is so very convenient.
I am surprised that the previous owners choose a mauve color to accent the white backsplash since the wallpaper is made up of light green leaves but I definitely appreciate it as it works perfectly in the room's new color scheme.
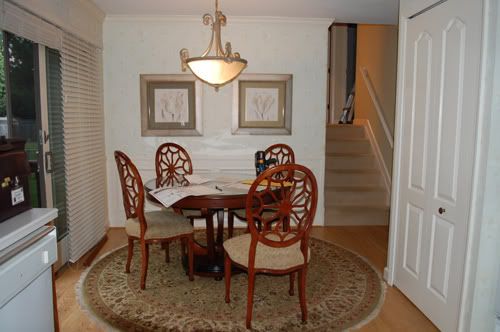
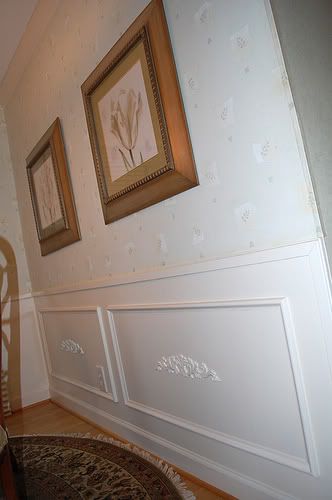
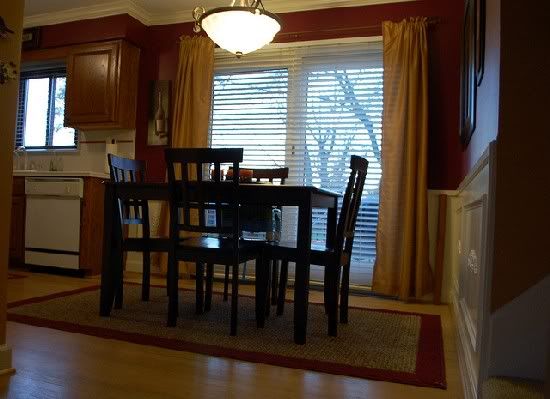
I love the moulding, I love the light fixtures, I love the spacious panty and I love the sliding glass doors that lead out to our deck and backyard. Really the only changes needed to make this space "ours" was a more modern paint color and some decorative accents. Stay tuned for the reveal :)
Thursday, December 24, 2009
And the Stockings Were Hung
It's Christmas Eve and my babies are snuggly tucked in their beds. Clay and I have been hard to work wrapping the last of the presents, something that we enjoy doing together on Christmas Eve.
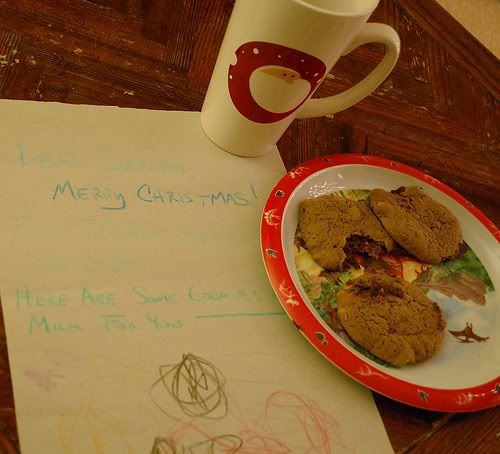
Santa's cookies and milk are set out....
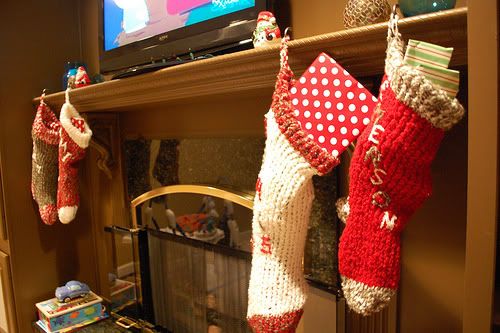
and the stockings that I knitted for each of us are stuffed full.

I can't wait to see my kiddos' faces tomorrow morning.
Merry Christmas.
Monday, December 21, 2009
Look What I Found...
while thrifting during my lunch hour. Why anyone would donate this adorable little guy is beyond me and I happily paid his $2.99 asking price.
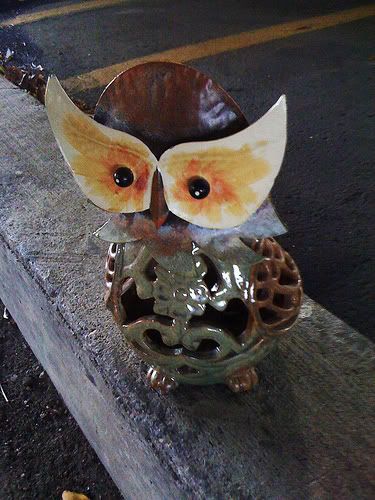
He's coming home to live in my family room, where his gorgeous browns & creams & tealy-blues will match perfectly.
Sunday, December 20, 2009
The Christmas Spirit
I've shared our Christmas tree and our house all lit up in Christmas lights, so I thought I'd show you some of the decorations we have throughout the inside of our home as well.
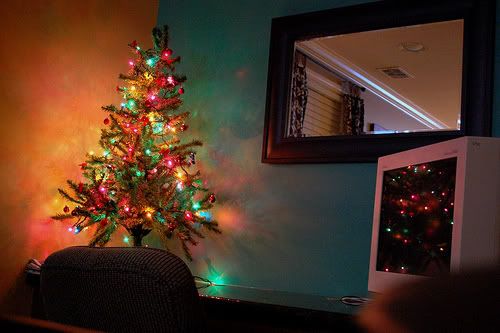
Two living spaces calls for two trees! We have our main tree in our living room, and we have a bright little tree in our family room.
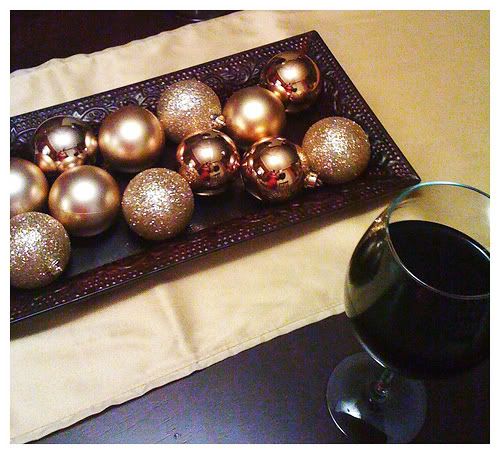
The dining room table's centerpiece is a shiny & sparkley collection of gold bulbs. The simpleness of it is very striking.
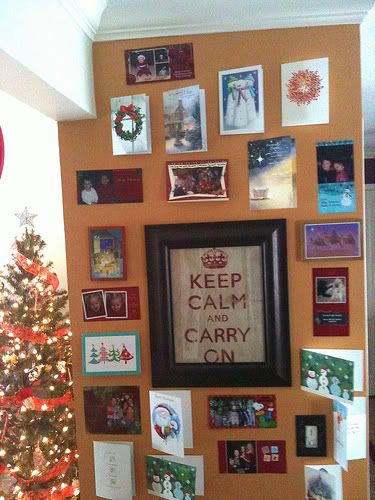
We've been proudly displaying our Christmas cards on the wall that separates the living room and dining room. I like that it's one of the first things you see when you enter our home.
Friday, December 18, 2009
Cupcake Bedding: Finished!
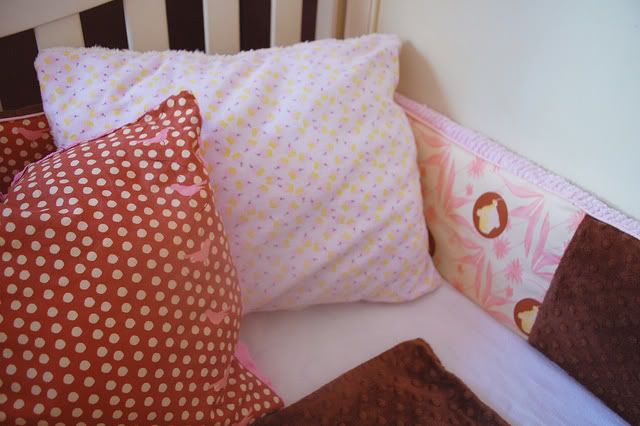
What a great idea to make Emerson's bedding. I improvised on each of the tutorials I used by adding my own tweaks and I am extremely proud with the finished project. I made the bumper out of pink chenille, chocolate brown minky and the two fabrics from Tina Given's Fairy Tip Toes collection. The skirt is made entirely from the darker fabric and is a nice contrast to the various shades of pinks in the room. I had enough material left over to make a matching pillow and blanket, and I made another pillow using a soft fleece cupcake material I found at a thrift store. The bedding for Em's nursery is simply lovely and one of a kind, just like my daughter.
Sunday, December 13, 2009
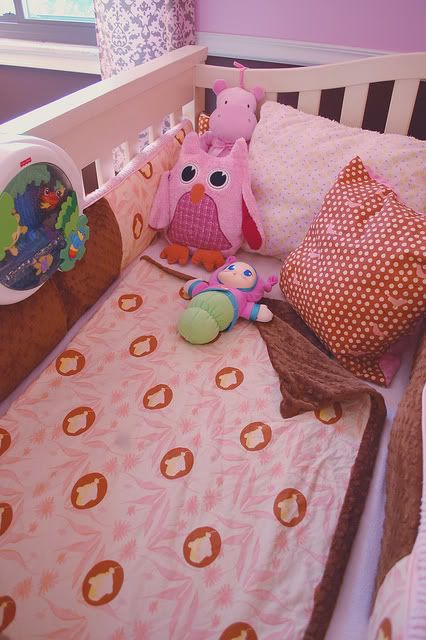
Sneak Peek!
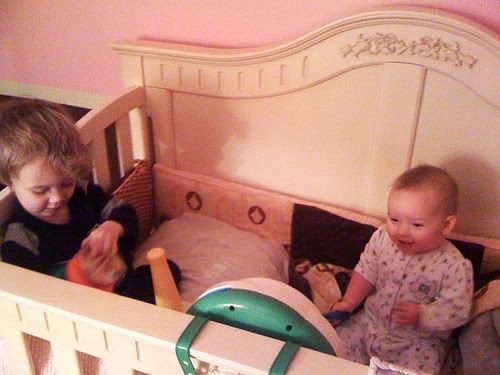
I got ot the bumper finished last night! I'm super proud of it so I thought I'd share a quick peek (hence the crappy iphone quality, sorry). I'm starting the crib skirt tonight after the babies are in bed and I can't believe how much I'm looking forward to sewing. I'm having a lot of fun with this project and I think if my motivation stays high, I can probably knock out a couple pillows and a blanket too.
Tuesday, December 8, 2009
Fairy Tip Toes
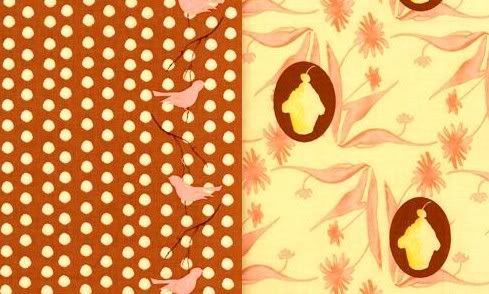
With Narls' bedroom finished, I'm starting my diy focus on Emerson's. Her nursery is going to have a cupcake theme and honestly, I am not that impressed with the bedding choices. Everything I've seen has been too cupcakey (something I never thought possible until now).
I want something a little more subtle, more whimsical. I stumbled on the Fairy Tip Toes fabric line by Tina Givens and instantly knew this was exactly the fabric I was looking for. In fact, I just placed my order for a few yards of both patterns shown. Using this tutorial, I intend to make the crib bumper and I hope to make a crib skirt using this tutorial. Good thing I like a challenge!
Saturday, December 5, 2009
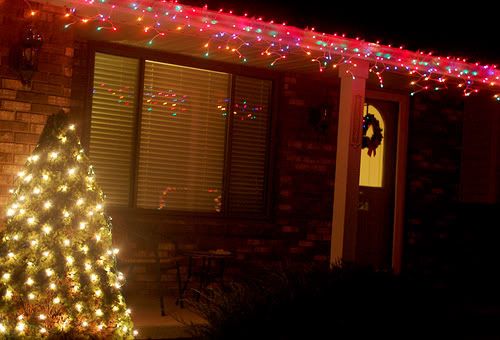
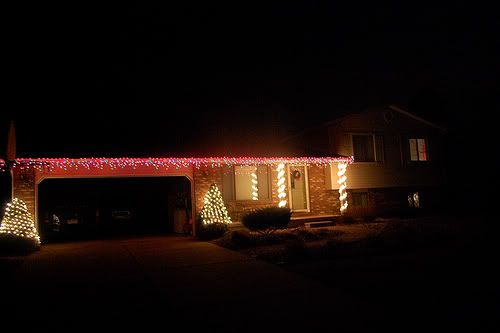
Up in Lights
Now that our tree is decorated, we've been busy getting the rest of our house decorated for Christmas. Next on our list was the outside. We had some lights but definitely not enough, so we headed to Home Depot for more. Oh, and a ladder! Who knew I'd ever be so excited about buying a ladder? Once there we found these handy dandy light hooks; I had no idea such things even existed. Years past when I would decorate our apartment balcony, I would just hang the lights from tiny nails I hammered into the wood. Probably not the best idea when you're working with vinyl siding and roof shingles though.
Clay and I had a bit of a disagreement when it came to which style lights to buy. I would prefer to decorate with all white lights, which I think is a classic, understated look. Clay likes lots of color; he thinks clear lights can be boring and not as much fun as twinkling multi-colored lights. So we compromised and bought some of each.
Tuesday, December 1, 2009
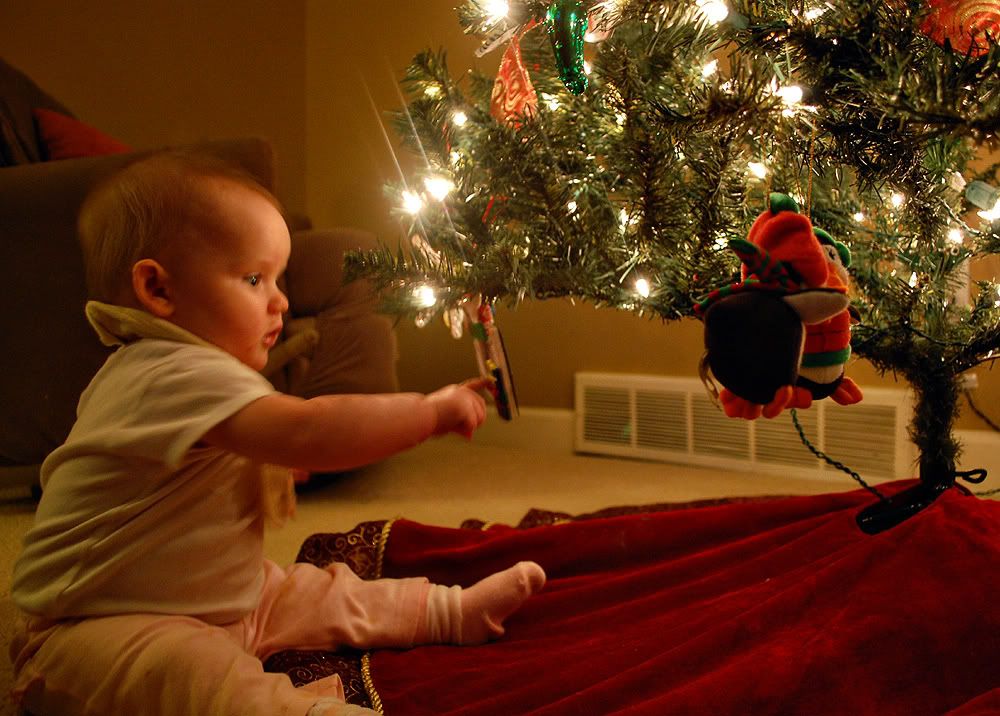
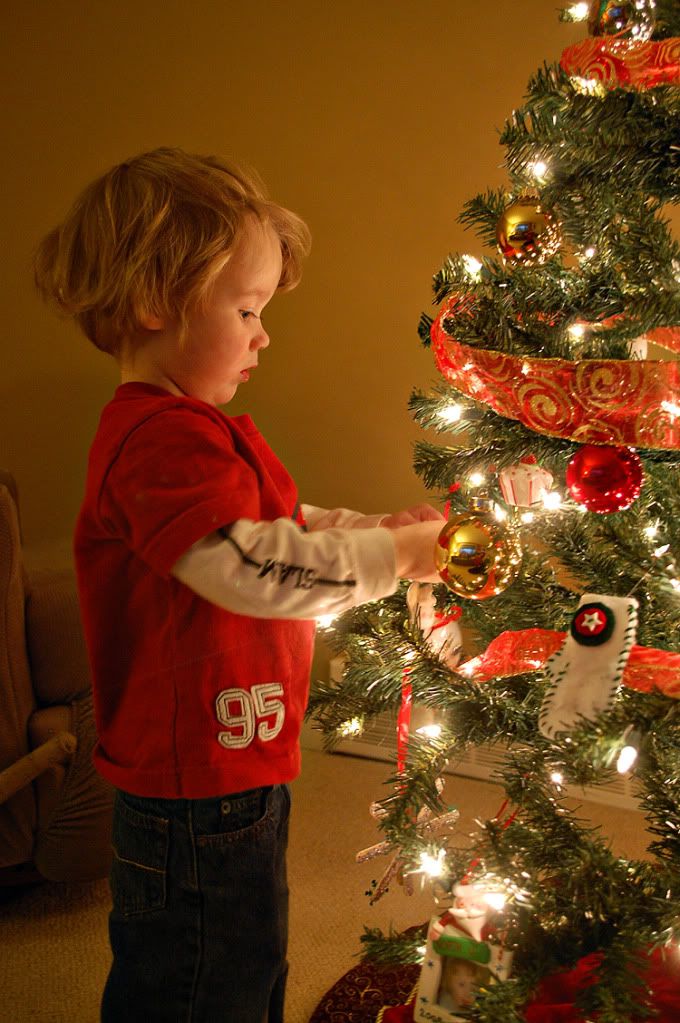
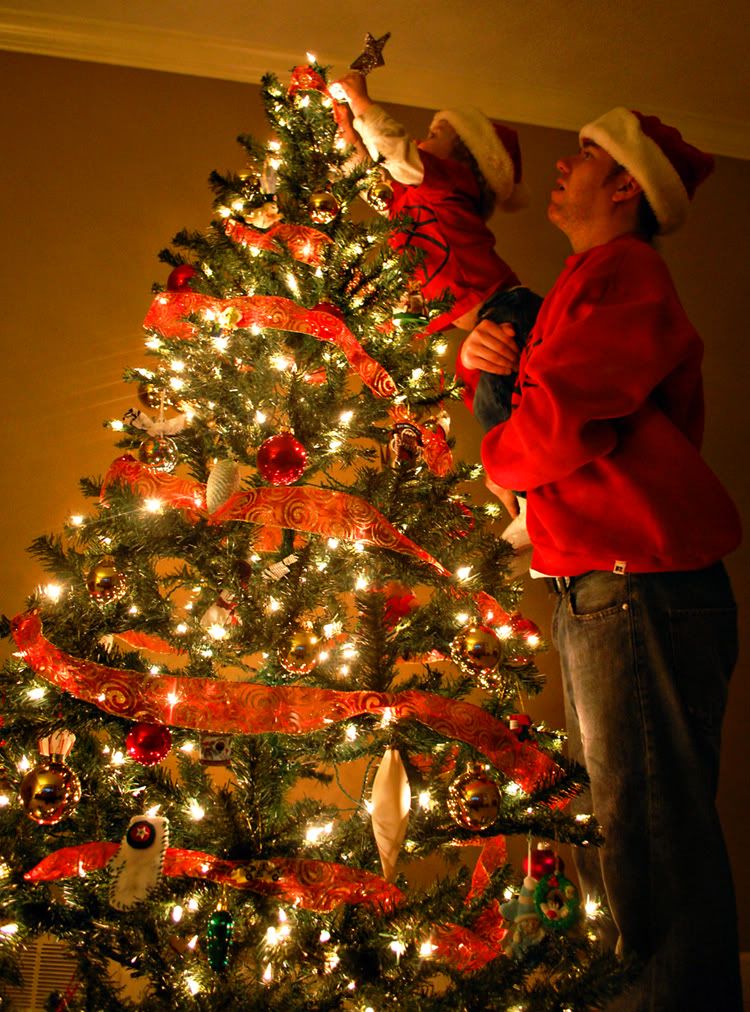
Oh Christmas Tree
As been our tradition since Clay and I have celebrating Christmas together, we decorated our Christmas tree the weekend following Thanksgiving. It's a whirlwind of a weekend, with Thanksgiving dinner at my inlaws, then Black Friday shopping, then Christmas decorating and I look forward to it every year. I was especially excited this year, because not only is it Emerson's first Christmas, but it's our first Christmas in our home.
Clay and Narls threw on some Christmas hats, hot chocolate was made, we put in our favorite mix of Christmas music and went to work. And our tiny tree looks beautiful.
Monday, November 30, 2009

Sunday, November 29, 2009
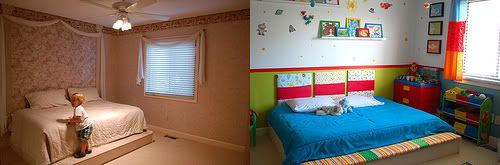
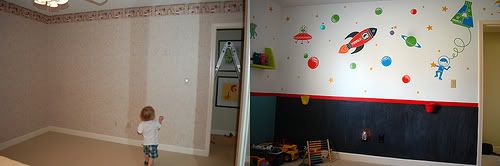
Narls' Room: Before and After
Because I'm a sucker for a visual before and after, I thought you might enjoy seeing some comparison shots of my son's room.
Saturday, November 28, 2009
Narls' Room: Done!
Two months into home ownership and I just finished my first room! Before our house, my family and I lived in an apartment filled with white walls so I've been itching to paint with fun bright colors. As a result, my 2-year-old son's bedroom was our first room to decorate.


The entire inspiration for this room came from David Walker's FreeSpirit line of fabric. I used it on the headboard, the bench and the curtains. The majority of the paint came from Sherwin-Williams; the lime green is called Hep Green, the bright blue is Reflecting Pool and the vibrant orange is Navel. The red trim was just a small container of a cherry red color from Home Depot and the black is chalkboard paint.
The previous owner built that fullsize bed frame and set it sideways in the middle of the room. I had planned on removing it but when we lifted it up we noticed that they laid the new Berber carpet all around it buttttttt, not underneath it. Underneath was shaggy dark brown carpet. Pretty weird right? Especially since it didn't take much to lift that bed frame. Anyhow, new carpet isn't in the budget and my son sleeps on a full anyway, so I just worked with it.

A bed without a headboard looks strange to me so I made a headboard out of wood, fabric and batting and then mounted them on the wall.

I spruced up the bench on the bed frame using the same idea only gluing it to the frame.

Using shelves and frames from Ikea, we displayed the art he makes in his early preschool class. What can I say, we're proud parents.

I know the curtains would have looked better if I made them longer but I wanted to remove the temptation of hiding/playing in them and accidently pulling them down.

Not too shabby for my first time making curtains, huh?

I found these space prints from Etsy.

I had to display his Uglydolls. They're too adorable not to. The cutout ones taped to the wall are decorations I made for his Little-Monster themed first birthday party. I'm nostalgically sentimental like that.

The chalkboard wall gets lots of love but I wiped it clean for this picture. Above the chalkboard are decals ordered from Etsy. Also, you might not be able to tell from the pictures, but we have glow-in-the-dark planets hanging from ceiling. And there are glow-in-the-dark stars on the ceiling and on all the walls - looks super cool at night(anything to make bedtime more appealing right?).

These little buckets from Ikea are perfect for holding chalk & erasers.

We took the doors off the closet to make that space part of the room. Putting his dressers and shelves in there opened up the floor space for more important things, like playing. And tantruming. I repainted his dresser to match the room.

I have to include his book shelf because it's the first - and only - time it's been this clean and organized.
I am so proud of this room! I'm thrilled about how much was diy and I'm thrilled to see my designs and ideas actually come to life just how I pictured them. And I'm the most thrilled at how happy this room makes my little boy :)
Friday, November 27, 2009
Narls' Room: Before
My son's room is completely finished. Before I share the pictures with you, I want you to see what we started with.

Decorative wall moulding. And wallpaper. Lots and lots of wallpaper. Layers of it, in fact.
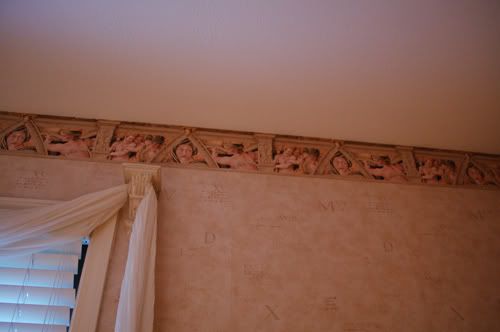
With creepy faces on it.
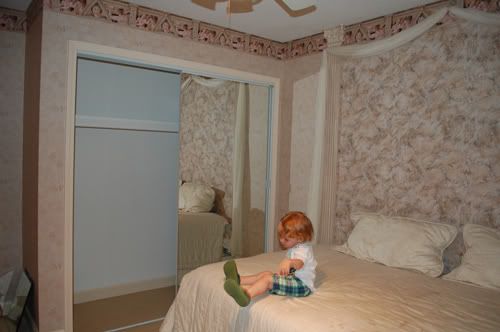
And an alter bed in front of a closet with mirrored doors that were just begging to pinch tiny fingers.
Yeah. Not exactly the most toddler-friendly room, huh?
Subscribe to:
Posts (Atom)
